
Are you excited to move into your newly constructed or renovated home? Post-construction cleaning can be a daunting task, but with our master DIY post-construction cleaning tips and hacks, you can transform your home into a clean and dust-free haven with minimal effort! Follow our do-it-yourself cleaning tips for post-construction to ensure a thorough and effective cleaning experience.
Our comprehensive guide covers everything you need to know about post-construction cleaning, from essential pre-cleaning steps to tackling stubborn stains and marks. We’ll also provide you with tips for cleaning surfaces and fixtures, organizing your belongings, and addressing safety and health considerations.
Key Takeaways
Table of Contents
- DIY post-construction cleaning tips can save you time and effort
- Essential pre-cleaning steps are crucial for an efficient and effective cleaning process
- Cleaning surfaces and fixtures require different strategies depending on the type of material
- Tackling stubborn stains and marks may require DIY tricks and tips
- Cleaning HVAC systems and filters is crucial for maintaining indoor air quality
Essential Pre-Cleaning Steps
Before we dive into the actual cleaning process, there are several essential pre-cleaning steps that we highly recommend taking. These steps will make the cleaning process more efficient and effective, allowing you to achieve better results with less time and effort. Here are some easy tips for cleaning after construction that you can follow:
- Remove any large debris: First things first, you need to remove any large debris such as wood scraps, nails, or broken tiles. You can use a broom and dustpan or a vacuum cleaner with a strong suction power to do this job. If there is any loose dust or dirt, use a damp cloth or a mop to wipe it away.
- Dust surfaces: Once the large debris is cleared, it’s time to dust off surfaces such as walls, ceilings, and light fixtures. You can use a soft-bristle broom or a dry microfiber cloth to do this job. Be sure to pay attention to corners and baseboards, as dust tends to accumulate in these areas.
- Ventilate the area: After dusting, it’s important to ventilate the area to prevent dust from settling again. Open windows and doors and use fans to circulate the air. This will also help to dry any damp areas that you may have cleaned.
- Protect flooring: If you’re cleaning a newly constructed or renovated space, it’s essential to protect the flooring from any damage. Cover the floors with a drop cloth or rosin paper to prevent scratches or stains from cleaning products.
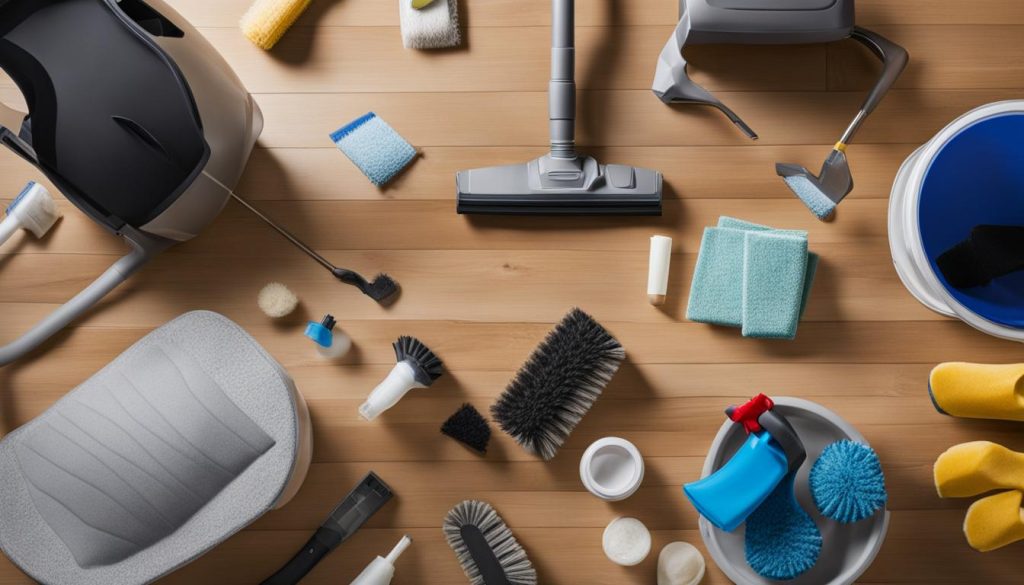
- Gather cleaning supplies: Lastly, gather all your cleaning supplies in one place. This will allow you to move smoothly from one task to another without wasting time looking for supplies. Some of the essential cleaning products you’ll need include a vacuum cleaner, a mop, a bucket, microfiber cloths, cleaning solutions, and gloves.
Pro tip:
If you’re not sure what kind of cleaning solutions to use, check with the contractor or builder who worked on your home. They may have specific recommendations based on the materials and finishes used in your home.
By following these easy tips for cleaning after construction, you can set the stage for a successful post-construction cleaning. With the pre-cleaning steps out of the way, it’s time to move on to the actual cleaning process. In the next section, we will walk you through the steps involved in clearing out debris and dust from your home.
Clearing Out Debris and Dust
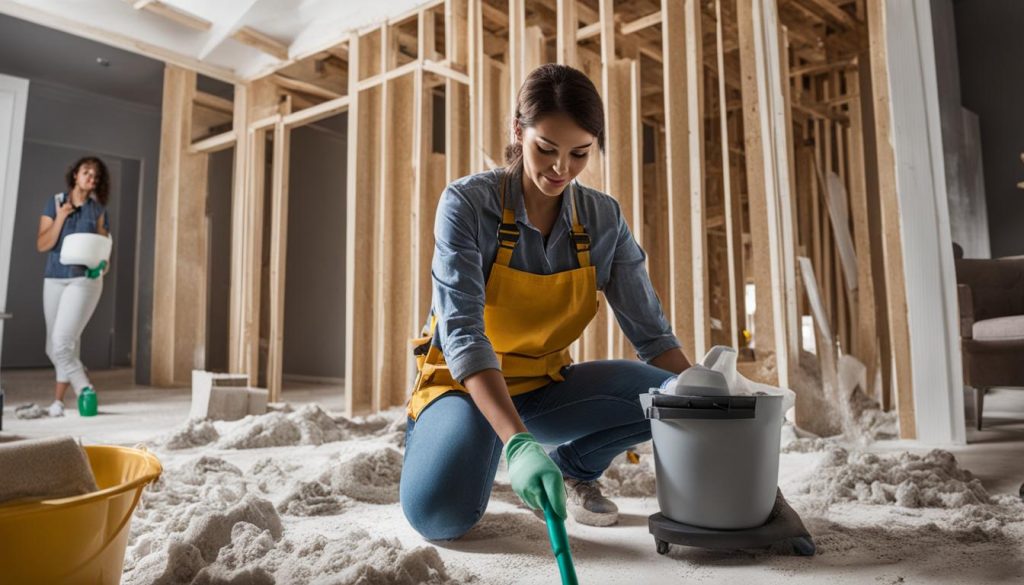
Now that you have completed the essential pre-cleaning steps, it’s time to start clearing out the debris and dust. This step is crucial for ensuring a quick and efficient post-construction cleaning process. Here is a step-by-step guide to follow:
- Protective gear: We recommend wearing protective gear, including gloves, safety goggles, and a mask, to safeguard against any harmful particles in the air.
- Starting from the top: Begin by cleaning the highest surfaces first, such as ceilings, light fixtures, and fans. Use a long broom or vacuum attachment to remove dust and cobwebs.
- Walls and windows: Next, move on to the walls and windows. Use a microfiber cloth or a vacuum with a soft brush attachment to remove dust and debris. Be sure to clean both sides of the windows.
- Floors: Finally, clean the floors. Use a broom or vacuum to remove larger debris, and then mop the floors with a cleaning solution. Pay extra attention to corners and edges.
Following these step-by-step cleaning tips for after renovations will help you clear out the debris and dust quickly and efficiently, allowing you to move on to the next stage of the cleaning process.
“It’s important to clean from the top down to avoid redistributing dust and debris. Don’t forget to wear protective gear to ensure your safety throughout the cleaning process.”
Cleaning Surfaces and Fixtures
After clearing out the debris and dust, it’s time to clean the surfaces and fixtures in your home. At this stage, it’s essential to follow best practices for DIY post-construction cleaning to avoid damaging the newly constructed or renovated space. Here are some effective post-construction cleaning strategies to clean different types of surfaces and fixtures:
Floors:
Start by vacuuming or sweeping the floors to remove any loose debris. Then, mop the floors with a mixture of warm water and a mild cleaning solution. Steer clear of using harsh chemicals, which might damage the floor. For hardwood floors, use a cleaning solution that is specially designed for the surface.
Walls and Baseboards:
Use a soft, damp cloth or sponge to wipe down the walls and baseboards. Avoid using abrasive cleaners, as they can damage paint and wallpaper. If there are any stubborn marks, use a gentle cleaning solution and apply with gentle pressure.
Countertops:
Wipe down the countertops with a damp cloth or sponge, using a mild cleaning solution. If there are any stubborn stains or marks, use a gentle cleaning solution and apply with gentle pressure. For marble countertops, avoid using acidic or abrasive cleaners that can damage the surface. Instead, use a cleaning solution specifically designed for marble.
Fixtures:
Use a soft, damp cloth or sponge to clean fixtures such as light switches, doorknobs, and handles. For stainless steel fixtures, use a cleaning solution specially designed for stainless steel to avoid streaks and watermarks.
These best practices for DIY post-construction cleaning will help you to avoid damaging your newly constructed or renovated space while achieving a thorough cleaning. Following these effective post-construction cleaning strategies will help keep your home clean and keep the remodeling process from taking too much of your time. Stick to the right cleaning methods, and you’re sure to end up with a gleaming space.
Tackling Stubborn Stains and Marks
Despite our best efforts, stubborn stains and marks are common issues after construction or remodeling. Here are some easy DIY tips and tricks to effectively tackle them:
- Removing paint stains: Use a plastic scraper to gently remove the excess paint. Then, wet a clean cloth with warm water and dish soap and apply it to the stain. Let it sit for a few minutes and then use the scraper to remove the remaining paint. Rinse the area with water and dry it with a clean cloth.
- Cleaning grout: Mix equal parts baking soda and water to create a paste. Apply the paste to the grout lines and let it sit for 10-15 minutes. Scrub the grout with a small brush and rinse with water. For tough stains, use a mixture of baking soda and vinegar.
- Removing adhesive residue: Apply a small amount of rubbing alcohol to a clean cloth and rub the adhesive residue until it dissolves. You can also use a mixture of warm water and dish soap.
- Cleaning carpets: Sprinkle baking soda on the affected area and let it sit for 30 minutes. Then, vacuum the area thoroughly. You can also use a mixture of water and vinegar to remove tough stains.
- Removing rust stains: Mix lemon juice and salt to create a paste. Apply the paste to the rust stain and let it sit for a few hours. Scrub the area with a brush and rinse with water.
With these easy tips, you can effectively tackle stubborn stains and marks after construction or remodeling. Don’t let these pesky blemishes ruin the newly renovated look of your home.
Cleaning HVAC Systems and Filters
During the construction process, dust and debris can accumulate in your HVAC systems and filters, reducing their efficiency and affecting indoor air quality. In this section, we will provide you with step-by-step instructions on how to clean your HVAC systems and filters effectively.
- Turn Off Power to HVAC System: Before cleaning your HVAC system, it is important to turn off the power to prevent any accidents or injuries.
- Remove Air Registers and Clean: Begin by removing the air registers and cleaning them with warm water and soap. Use a soft-bristled brush to remove any dirt and debris that may have accumulated on the registers.
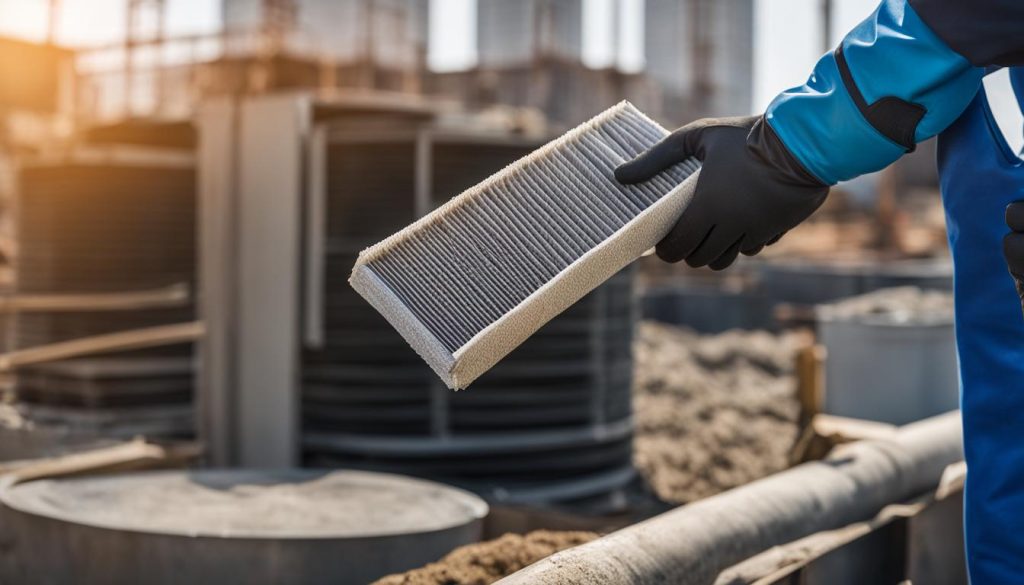
- Replace or Clean Air Filters: Check your air filters and replace or clean them as necessary. Air filters are critical in maintaining good indoor air quality. You can clean your air filters with a vacuum or wash them with warm water and soap.
- Clean Inside the HVAC System: With the air registers and filters removed, it’s time to clean the inside of the HVAC system. Use a vacuum or a soft-bristled brush to remove any dirt and debris. Be sure to clean the blower compartment and housing thoroughly.
- Clean the Coil and Fins: The coil and fins in your HVAC system can also accumulate dirt and debris, reducing the system’s efficiency. Use a coil cleaner and a fin comb to clean the coil and fins. Be sure to follow the manufacturer’s instructions when using the coil cleaner.
- Reassemble and Turn on Power: Once you have completed the cleaning process, reassemble all the parts, and turn on the power to the HVAC system. Check to ensure that everything is operating correctly.
By following these step-by-step instructions, you can ensure that your HVAC system is efficiently cleaning the air in your home. Remember to regularly clean your HVAC system to maintain good indoor air quality and reduce the risk of health issues.
Addressing Safety and Health Considerations
When it comes to DIY post-construction cleaning, safety and health considerations should be a top priority. Here are some do-it-yourself cleaning tips for post-construction that will help you prioritize safety and health:
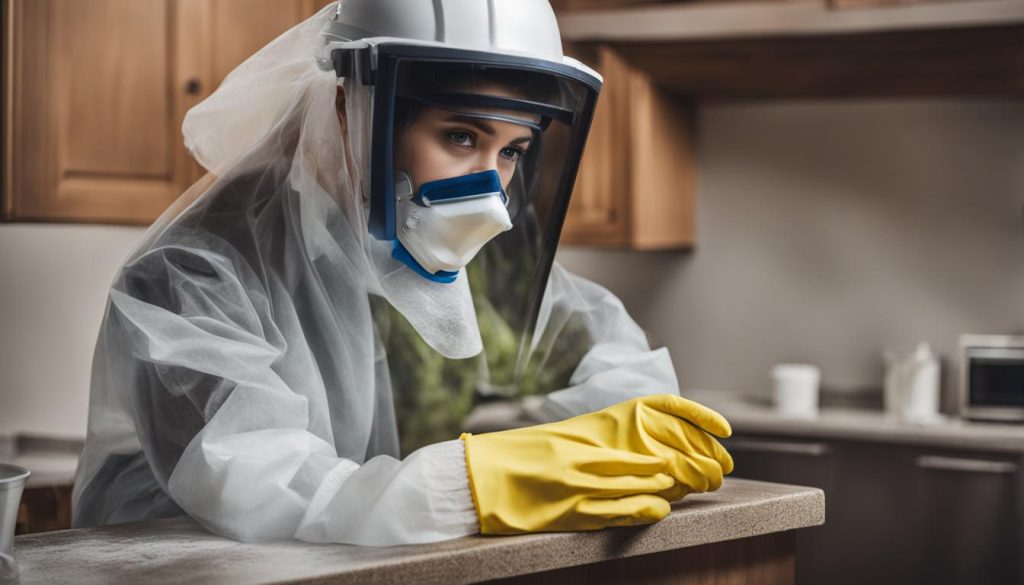
- Wear Protective Gear: Before starting the cleaning process, ensure that you wear personal protective equipment such as gloves, face masks, and safety glasses. This will protect you from harmful dust and debris.
- Proper Ventilation: Ensure that the area you are cleaning is well-ventilated. Open windows and doors to promote air flow and use fans if necessary.
- Avoid Harsh Chemicals: Many cleaning products contain harsh chemicals that can be harmful, especially in concentrated form. Avoid using such products and opt for environmentally-friendly alternatives.
- Keep Children and Pets Away: During the cleaning process, ensure that children and pets are kept away from the cleaning area to prevent accidents or exposure to harmful chemicals.
- Dispose of Waste Properly: Dispose of waste properly, following local regulations. This includes construction debris, cleaning supplies, and any hazardous materials.
By following these effective post-construction cleaning strategies, you can ensure a safe and healthy cleaning experience for yourself and your loved ones.
Quote Example:
We take safety and health concerns seriously when it comes to post-construction cleaning. With our effective cleaning strategies, you can rest assured that your health and safety always come first.
Organizing and Putting Everything in Place
Now that you have completed the post-construction cleaning process, it’s time to organize and put everything back in place. This final step is crucial to fully transform your living space and enjoy your newly renovated or constructed home.
A great way to start organizing is by sorting your belongings into categories. You can create a table with different categories and sort items accordingly. For example:
| Category | Items |
|---|---|
| Clothes | Shirts, pants, dresses, etc. |
| Books | Novels, textbooks, cookbooks, etc. |
| Electronics | TV, speakers, lamps, etc. |
Once you have sorted your items, it’s time to find the best place for them. Consider the purpose of each room and arrange items according to their function. For example, in the living room, you can place the couch and TV in the center, with the coffee table in front. In the bedroom, prioritize comfortable sleeping arrangements and storage solutions.
Use your creativity to make the space visually appealing. You can use decorative items like rugs, throw pillows, and artwork to add personality to your living space. Make sure to leave enough open spaces, so the room doesn’t feel cramped.
Don’t forget to clean and organize your kitchen as well. You can use labels and jars to store food items like sugar, flour, and spices. This will not only keep the space organized but also add a decorative touch.
Overall, organizing your newly constructed or renovated space is a crucial step that will help you fully enjoy your home. By following these DIY post-construction cleaning tips and hacks, you will be able to create a clean, functional, and visually pleasing living space that you can be proud of.
Conclusion
Post-construction cleaning can be a daunting task, but with the right strategies, it can be a breeze. By following our master DIY post-construction cleaning tips, you can transform your newly constructed or renovated space into a clean and dust-free haven.
Throughout this guide, we have provided you with essential pre-cleaning steps, tips for clearing out debris and dust, best practices for cleaning various surfaces and fixtures, and strategies for tackling stubborn stains and marks. We’ve also shared how to clean your HVAC systems and filters effectively and prioritized safety and health considerations.
After completing the cleaning process, it’s time to organize and put everything back in place. We hope that our tips and hacks will help you efficiently organize your belongings and restore order to your living space.
Remember, with minimal effort and the right strategies, you can achieve a pristine home that you can enjoy for years to come. Start your cleaning journey today with our effective post-construction cleaning strategies.
FAQ
What are DIY post-construction cleaning tips?
DIY post-construction cleaning tips refer to strategies and techniques that homeowners can use to clean their homes after construction or renovation. These tips are designed to help individuals transform their spaces into dust-free and pristine environments.
Why is pre-cleaning important before post-construction cleaning?
Pre-cleaning is important before post-construction cleaning because it helps to remove the initial layer of dust and debris, making the cleaning process more efficient and effective. By taking essential pre-cleaning steps, you set yourself up for a more thorough cleaning experience.
How do I clear out debris and dust after construction or renovation?
To clear out debris and dust after construction or renovation, you can start by sweeping and vacuuming the area. Additionally, using microfiber cloths or damp mops can help to capture and remove any remaining dust particles. Remember to work from top to bottom and pay attention to hard-to-reach areas.
How should I clean different surfaces and fixtures after construction or renovation?
Cleaning different surfaces and fixtures after construction or renovation requires careful consideration of the material and its specific cleaning requirements. For floors, walls, countertops, and fixtures, using appropriate cleaning agents and tools is important. Refer to manufacturer guidelines and follow best practices to avoid causing any damage.
What are some tips for tackling stubborn stains and marks?
When dealing with stubborn stains and marks after construction or renovation, using specialized cleaning products or DIY solutions can be effective. Scrubbing gently with a soft brush or sponge and applying gentle pressure can also help to remove stubborn stains. Always test a small, inconspicuous area first to ensure compatibility with the surface.
How do I clean HVAC systems and filters after construction?
To clean HVAC systems and filters after construction, you can start by turning off the system and removing any visible debris. Use a vacuum cleaner or a soft brush to clean the filters and vents. If necessary, consult the manufacturer’s instructions or seek professional assistance for a more thorough cleaning.
What safety and health considerations should I keep in mind during post-construction cleaning?
During post-construction cleaning, it is important to prioritize safety and health. Wearing appropriate protective gear, such as gloves and masks, can help minimize exposure to potentially hazardous materials and chemicals. Proper ventilation and regular breaks are also important to avoid fatigue and ensure a safe cleaning experience.
How can I efficiently organize my belongings after post-construction cleaning?
After completing the cleaning process, organizing your belongings efficiently can help restore order to your living space. Utilize storage solutions, declutter unnecessary items, and categorize belongings into designated areas. This will ensure that everything has its place and make it easier to maintain a clean environment.